A Comprehensive Guide to Whirlpool Stove Power Cord Installation
Introduction
Installing a power cord for your whirlpool stove power cord installation is an essential step to ensure safe and reliable operation. Whether you’re replacing an old cord or setting up a new stove, proper installation is crucial to prevent electrical hazards and ensure the longevity of your appliance. In this guide, we will walk you through the step-by-step process of installing a power cord for your Whirlpool stove, providing valuable insights to help you complete the task successfully.
Step 1: Gather the Necessary Tools and Materials
Before you begin, make sure you have all the required tools and materials at hand. You will need a Phillips screwdriver, wire stripper/cutter, UL-approved 4-wire or 3-wire power cord (depending on your home’s electrical setup), wire nuts, and electrical tape. It’s important to use the appropriate materials to ensure safety and compliance with electrical codes.
Step 2: Safety First
Before starting any work, prioritize safety. Ensure that the stove is completely disconnected from the power source. If it’s a new installation, make sure the circuit breaker is turned off to prevent any accidental electrical shock. It’s also recommended to wear safety gloves and goggles throughout the installation process.
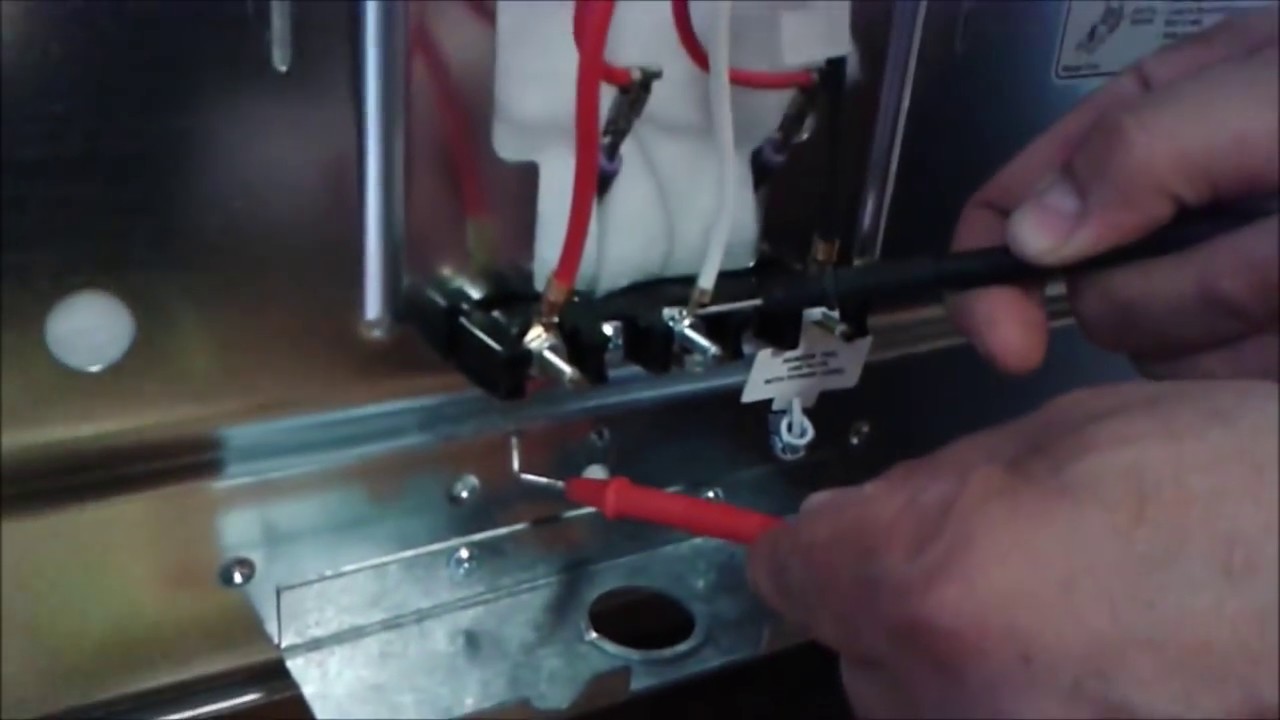
Step 3: Access the Terminal Block
To access the terminal block where the power cord will be connected, you’ll likely need to remove a rear access panel on the back of the stove. Use a Phillips screwdriver to carefully remove the screws holding the panel in place. Set the panel aside in a safe place.
Step 4: Connect the Wires
The power cord will have three or four wires, depending on your home’s electrical setup. If you have a 4-wire power cord, you will see red, black, white, and green (or bare) wires. For a 3-wire power cord, you will have red, black, and white wires. Here’s how to connect them:
4-Wire Power Cord:
- Connect the red and black wires to the outer terminal screws on the terminal block. It doesn’t matter which wire goes to which terminal.
- Connect the white wire to the center terminal screw.
- Connect the green (or bare) wire to the grounding screw or grounding strap on the stove’s frame.
3-Wire Power Cord:
- Connect the red and black wires to the outer terminal screws on the terminal block. Again, the order doesn’t matter.
- Connect the white wire to the center terminal screw.
Step 5: Secure the Connections
After attaching the wires to the terminal block, use wire nuts to secure the connections. Twist each wire pair together (cord wire and stove wire) and screw on the wire nut until it’s tight. Make sure no bare wires are exposed.
Step 6: Reassemble and Test
Carefully place the rear access panel back onto the stove and secure it with the screws. Double-check all connections to ensure they are secure and properly insulated with wire nuts. Once you’re confident that everything is correctly installed, you can proceed to test the stove.
Step 7: Testing the Stove
Before you restore power to the stove, take one last look at the connections to ensure everything is in order. Once you’re certain, flip the circuit breaker back on. Turn on the stove and test all the burners and the oven to confirm that they are working as expected. If you encounter any issues, turn off the power immediately and recheck your connections.
Conclusion
Installing a power cord for your Whirlpool stove is a task that requires careful attention to detail and a commitment to safety. By following this comprehensive guide, you can successfully complete the installation process and enjoy the benefits of a well-functioning and safe appliance. Remember, if you’re ever unsure about any step of the installation, it’s always best to consult a professional electrician to ensure the job is done correctly and securely.